Red — the knife
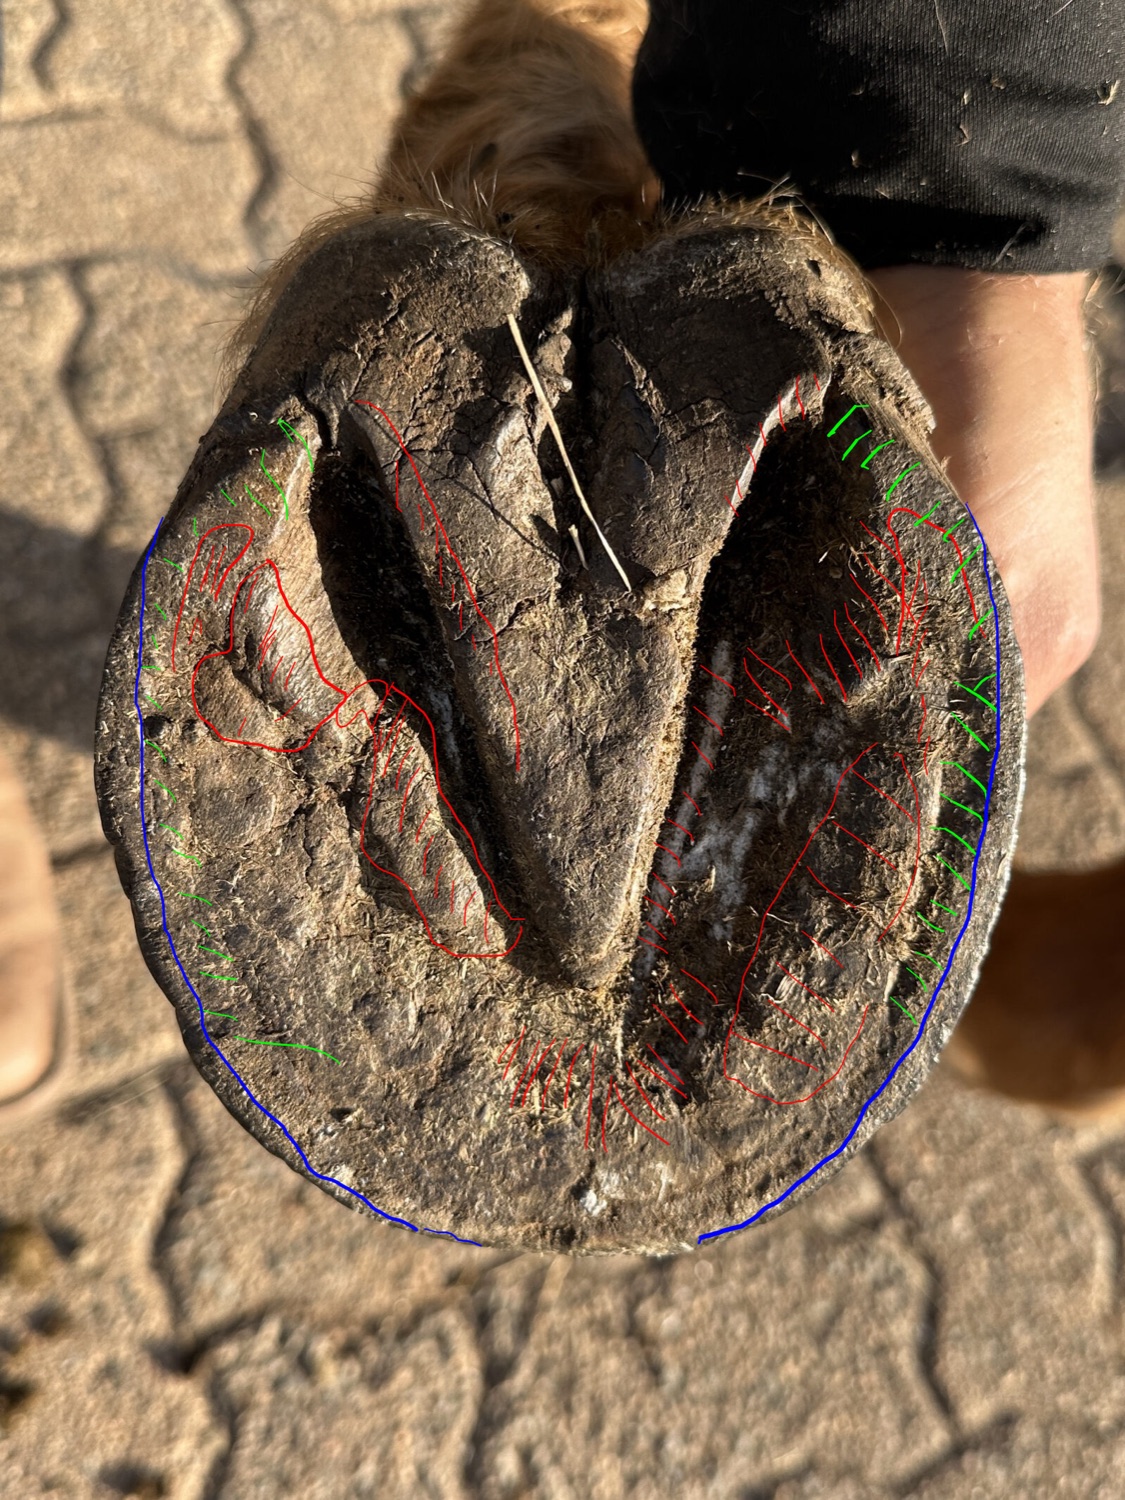
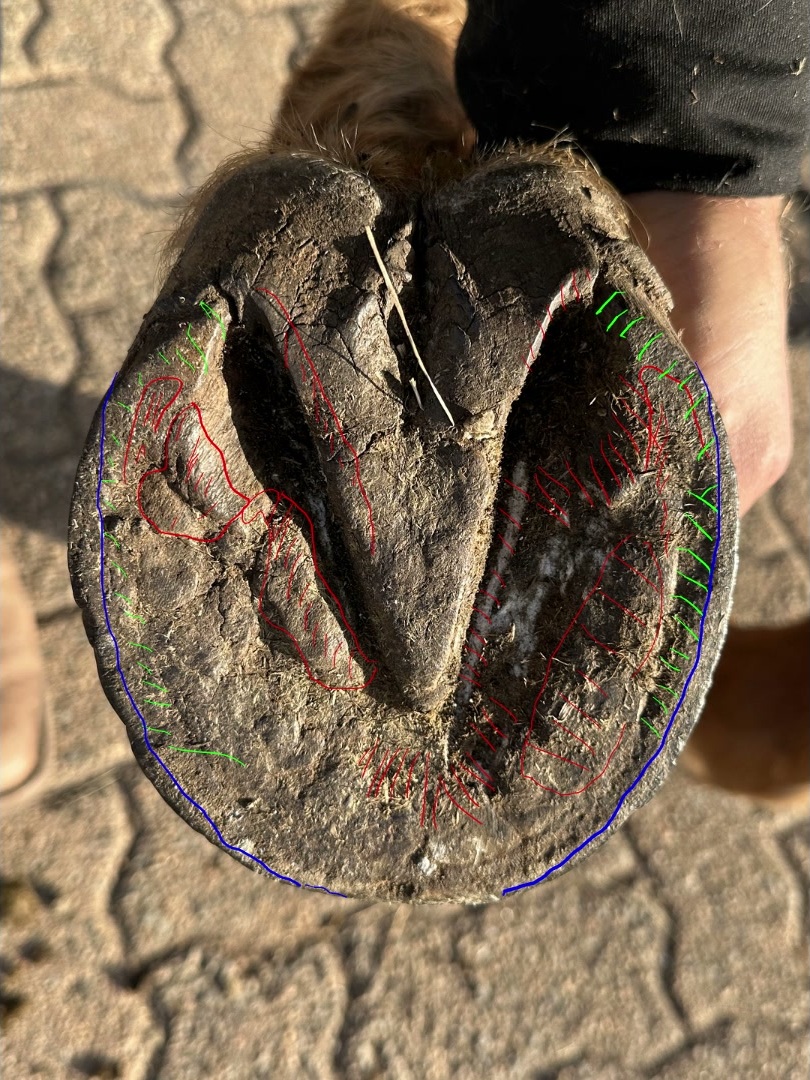
Red shows the use of the knife. Solid lines are cuts, circled areas show what belongs together, and hatching stands for scratching or scraping.
The Method
Good hoof trimming doesn't start with the tools. It starts with reading the hoof right.
The method puts one principle first: no radical corrections. Small changes instead. The hoof should be able to grow into the right shape, not be forced into a mold.
The observation behind it is simple: Load changes shape. Shape changes load. Growth responds to both. The system wants to work — you can make that possible.
Born from years of hard work on thousands of hooves — not designed at a desk. Over 20 years of hoof trimming, hundreds of horses: from that grew the system the book and app show today.
See how it was madeEach color stands for a tool and the way it's used. Red = knife. Green = rasp. Blue = rasp or nippers. Observe. Compare. Understand.
Each color stands for a tool. Red = knife Green = rasp Blue = rasp or nippers
Red shows the use of the knife. Solid lines are cuts, circled areas show what belongs together, and hatching stands for scratching or scraping.
Green is using the rasp to take the hoof wall down toward the sole — lowering it.
Blue is using the rasp to thin the hoof wall and create a breakover point. With more experience, hoof nippers can prepare the area — they already clip away a lot of material and save rasping time.
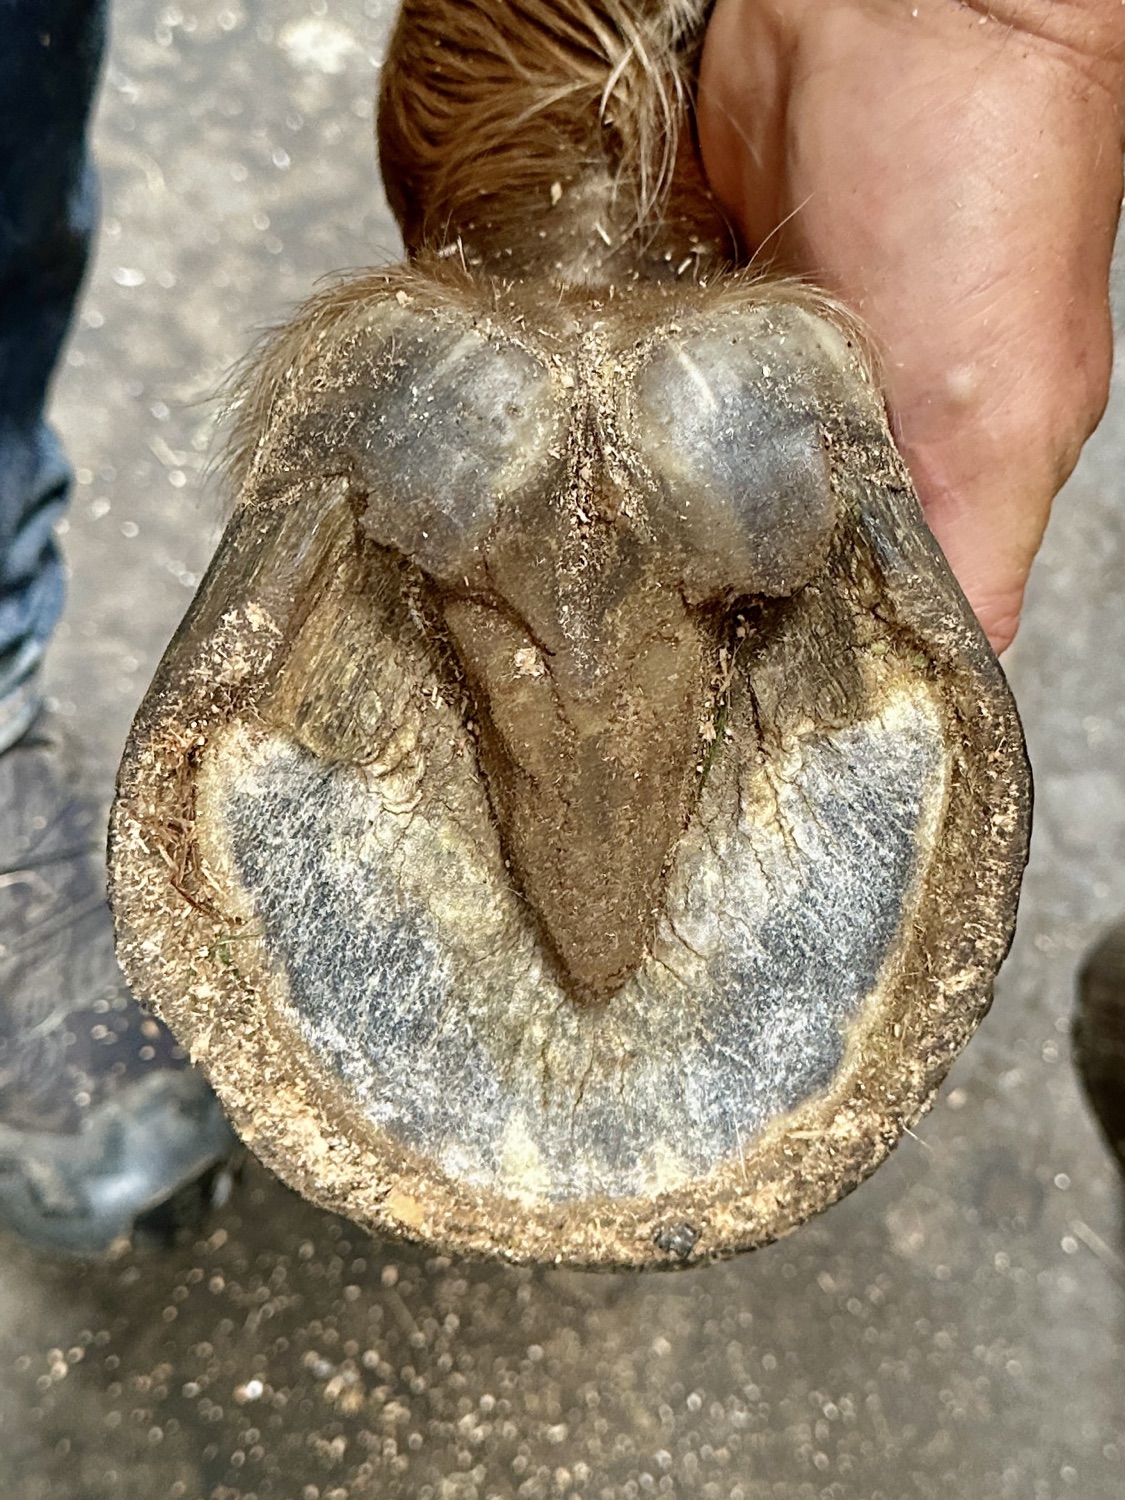
You don't need to understand everything at once. You don't need to know every influence, read every shift at the coronet, or analyze every asymmetry along the hairline. I'm not saying those things don't matter. Of course, you can read certain things from them. But to achieve a healthy hoof on your own, in small steps, what you need above all is the sole!
You can learn how that works and what to look for from the prepared examples in the app. Even sorted by specific problems.
Follow the change. Understand the solution.
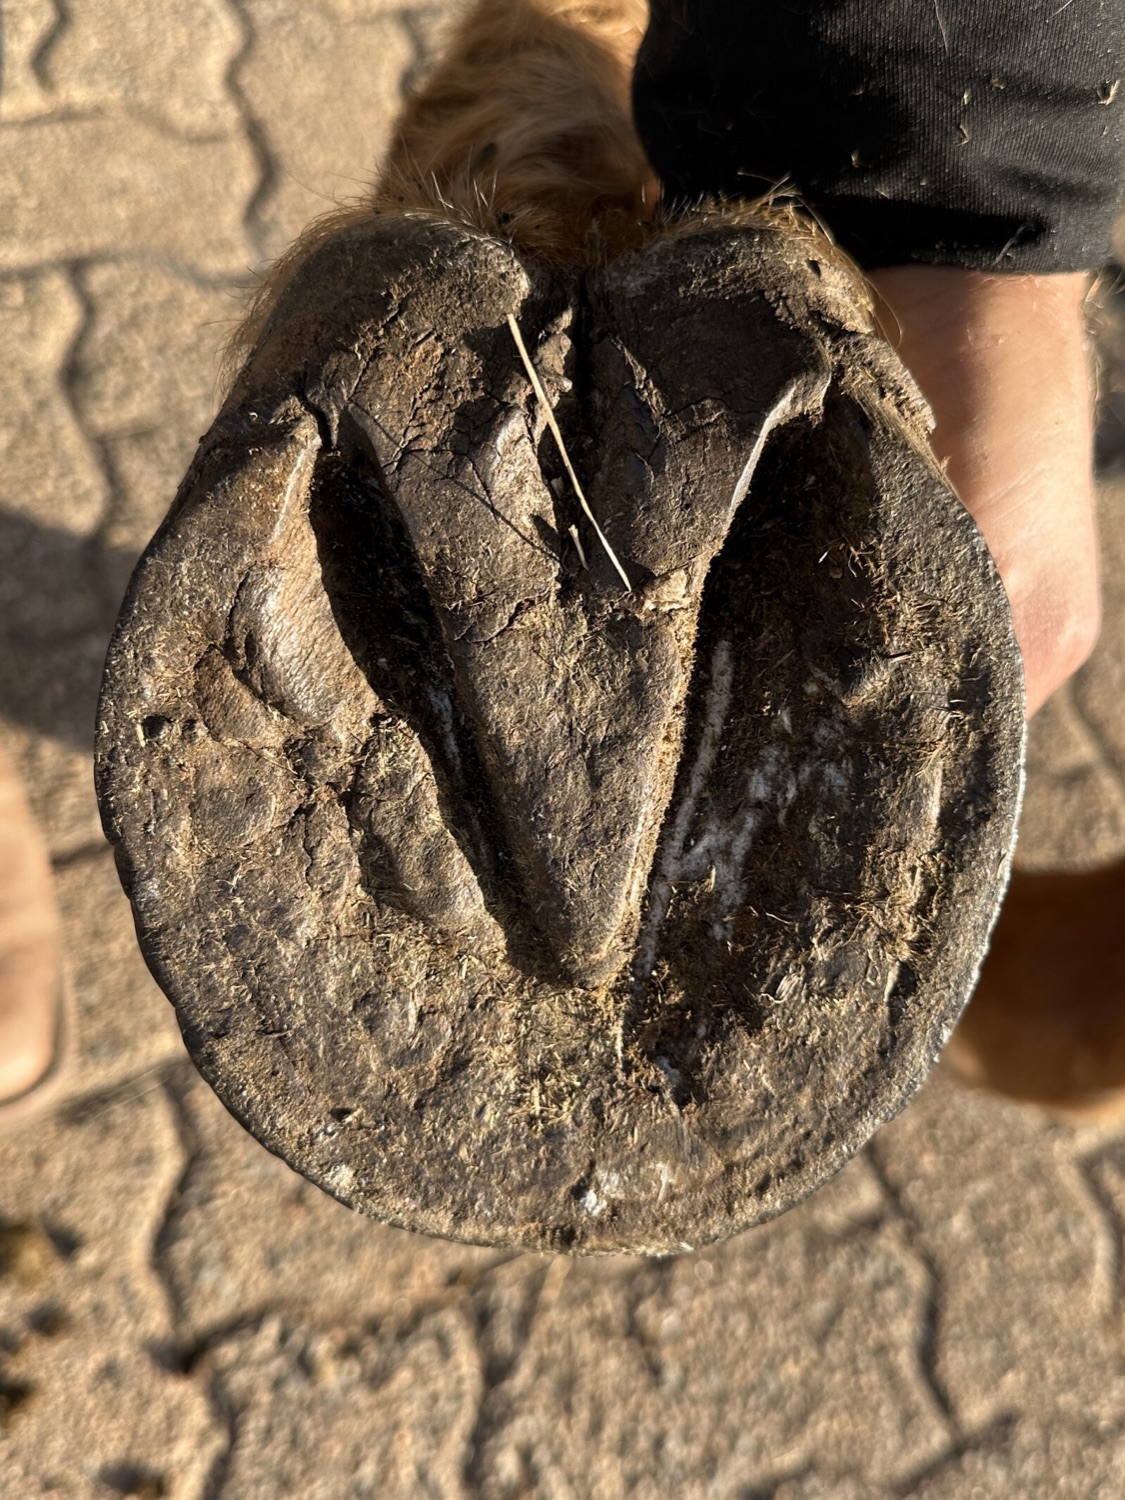
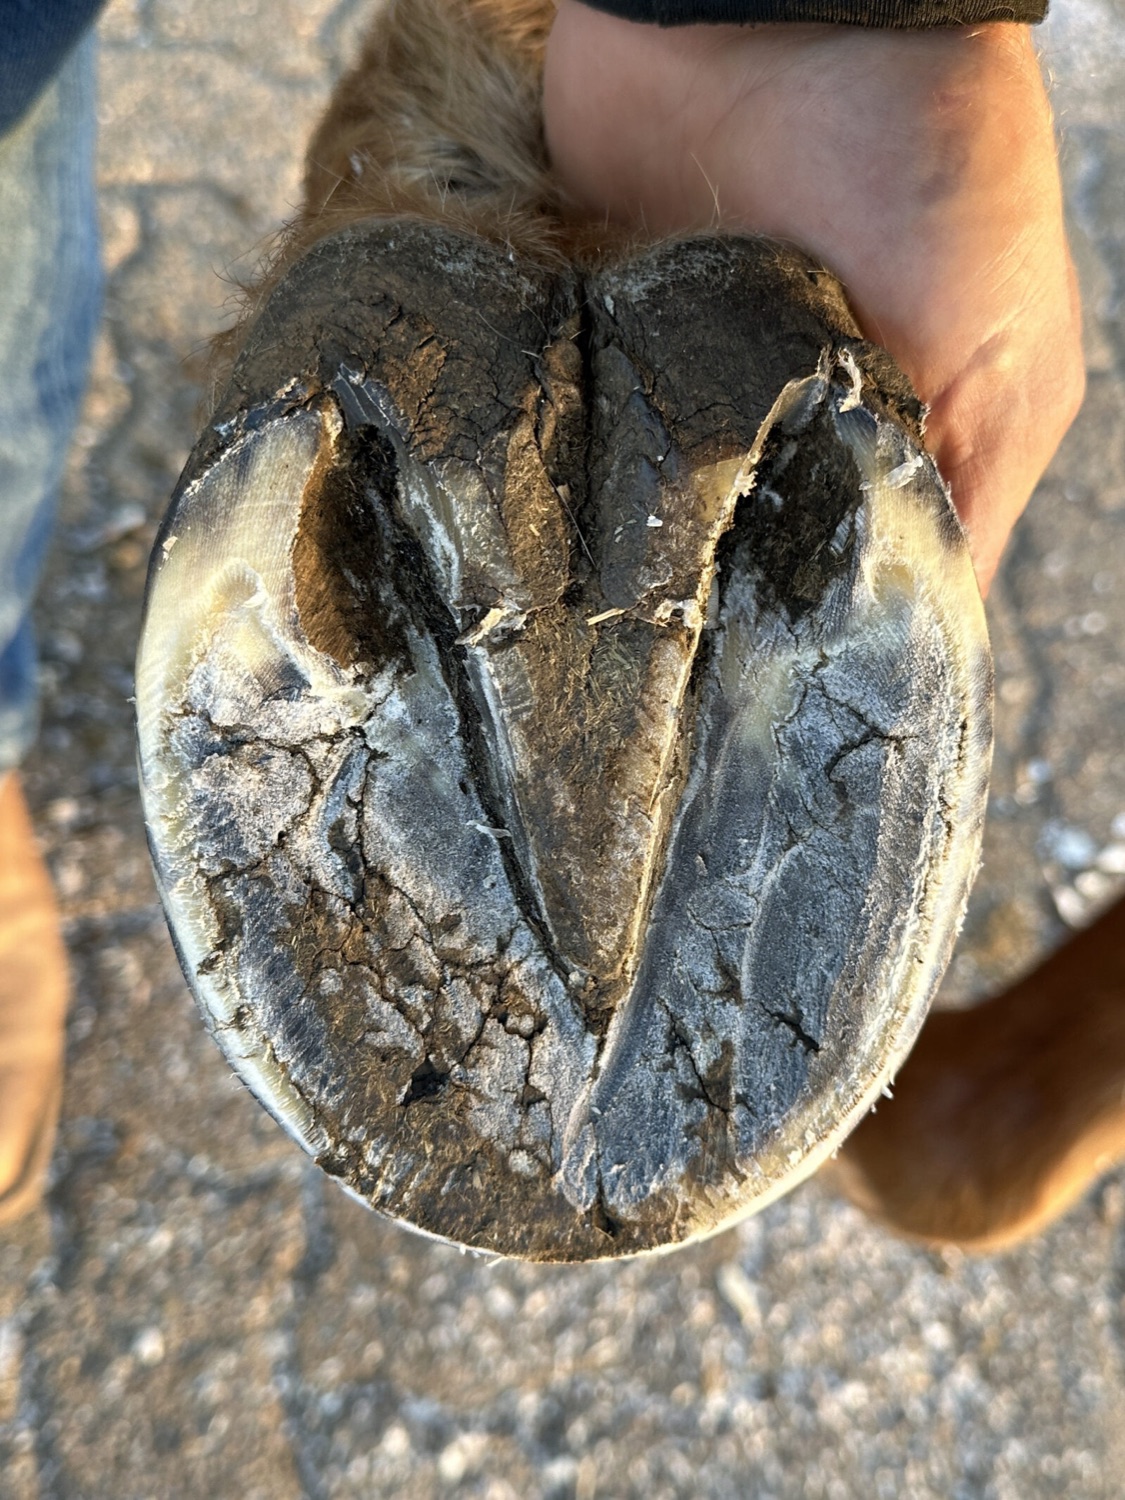
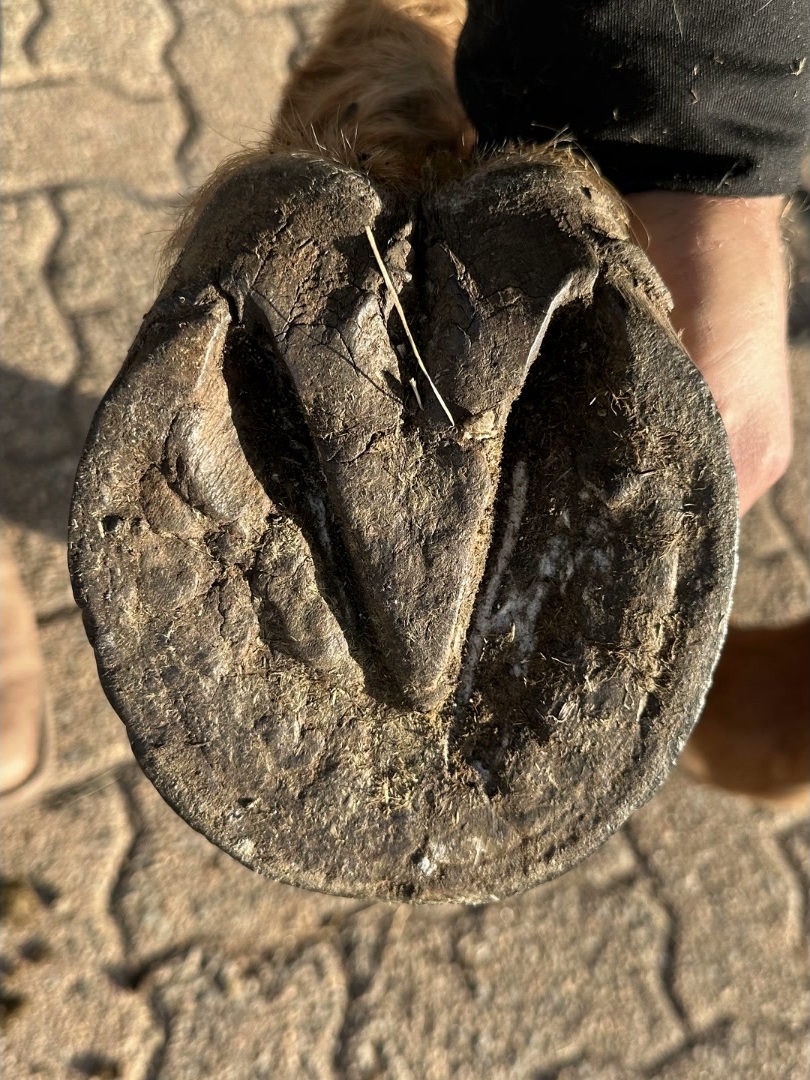
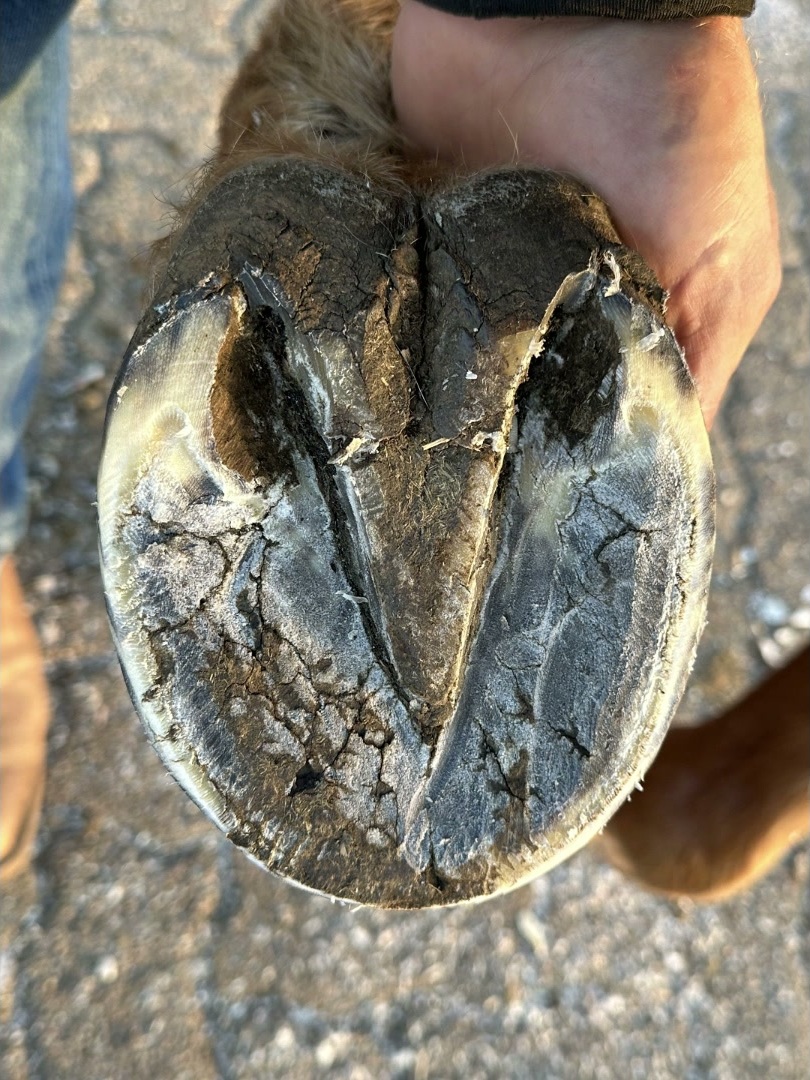
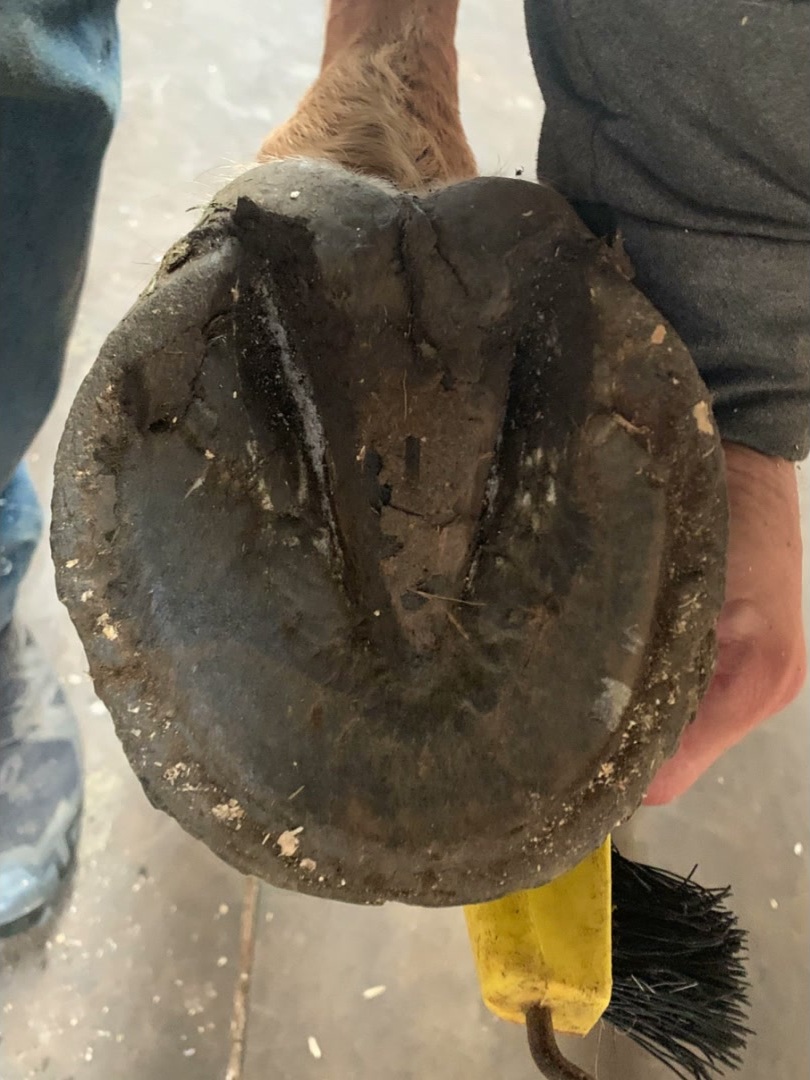
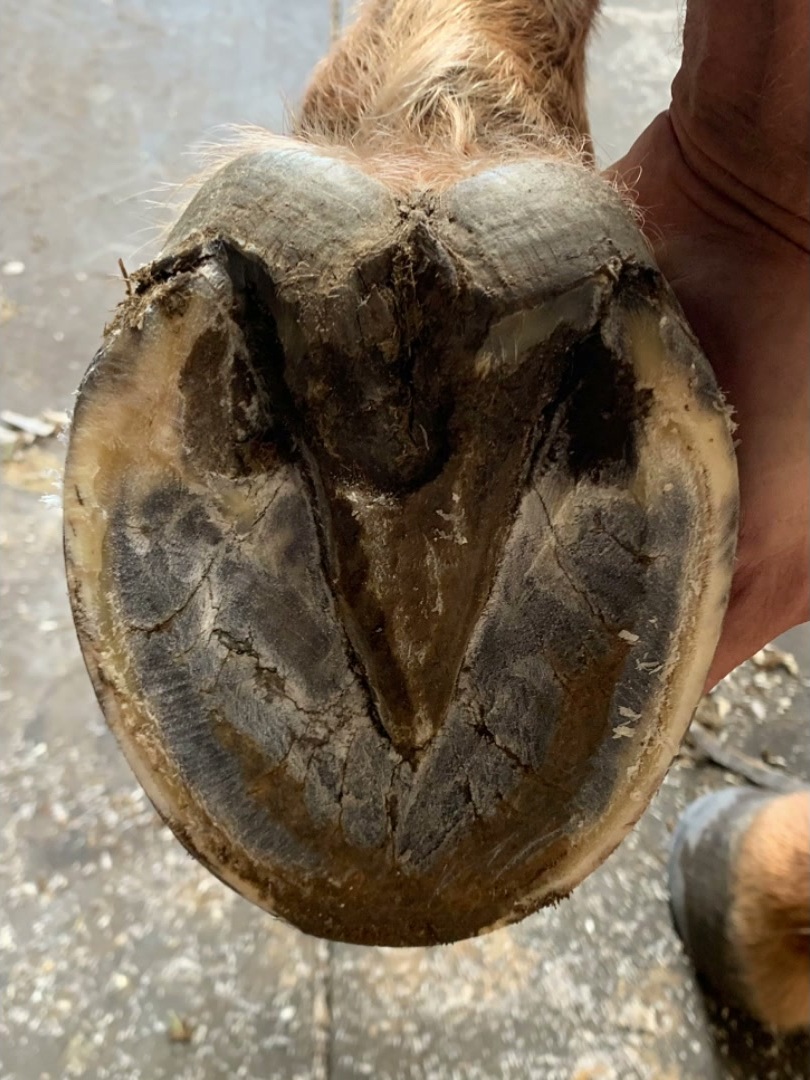
First you see the hoof before trimming, then the markings show you the necessary steps, and at the end you see the result: how the hoof looks after trimming. Clean, overlaid, and easy to follow.
Real cases
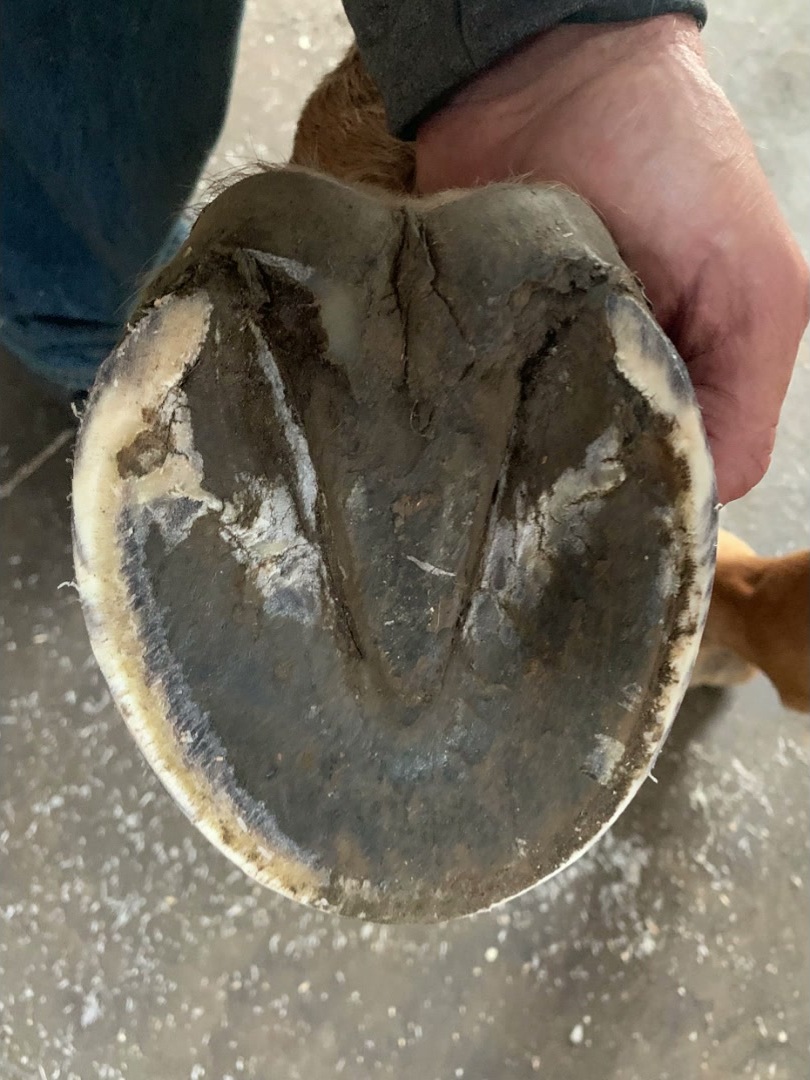
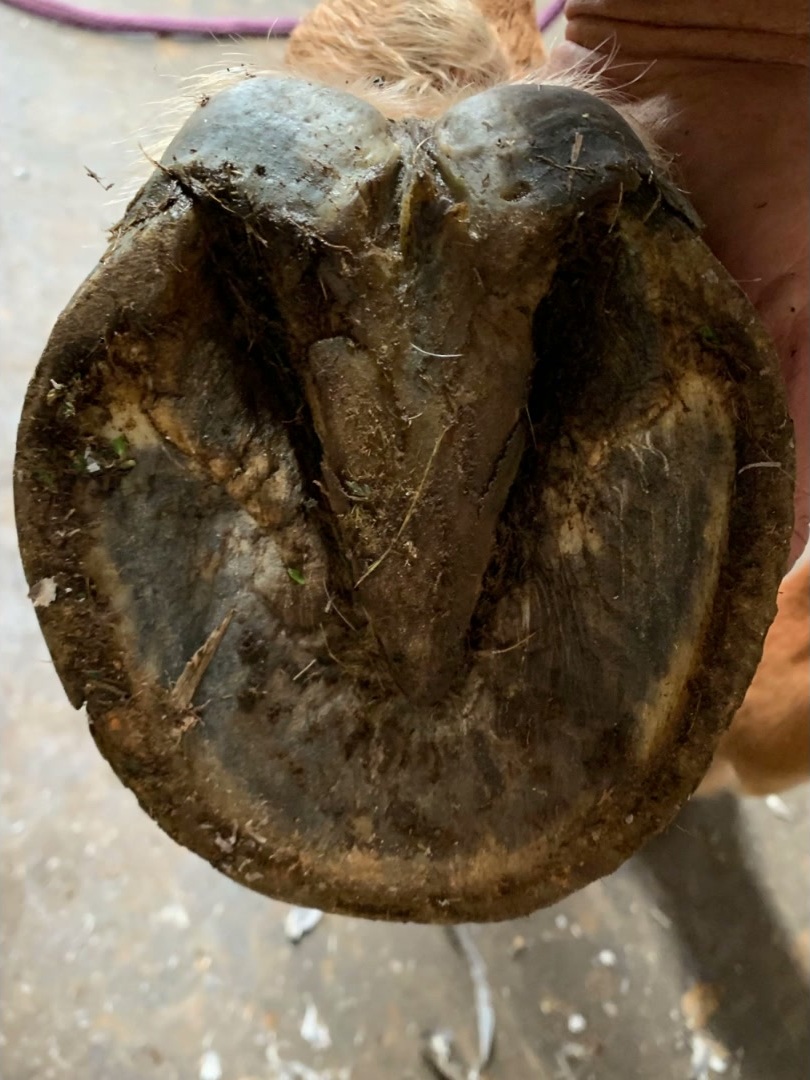
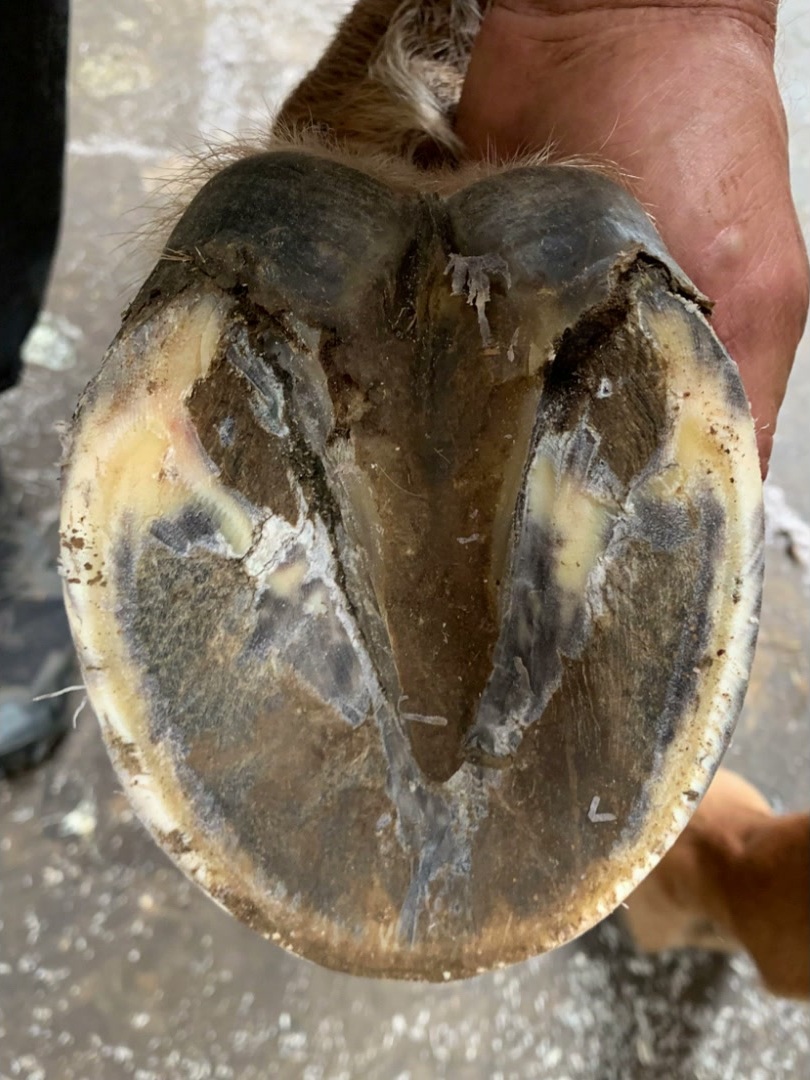
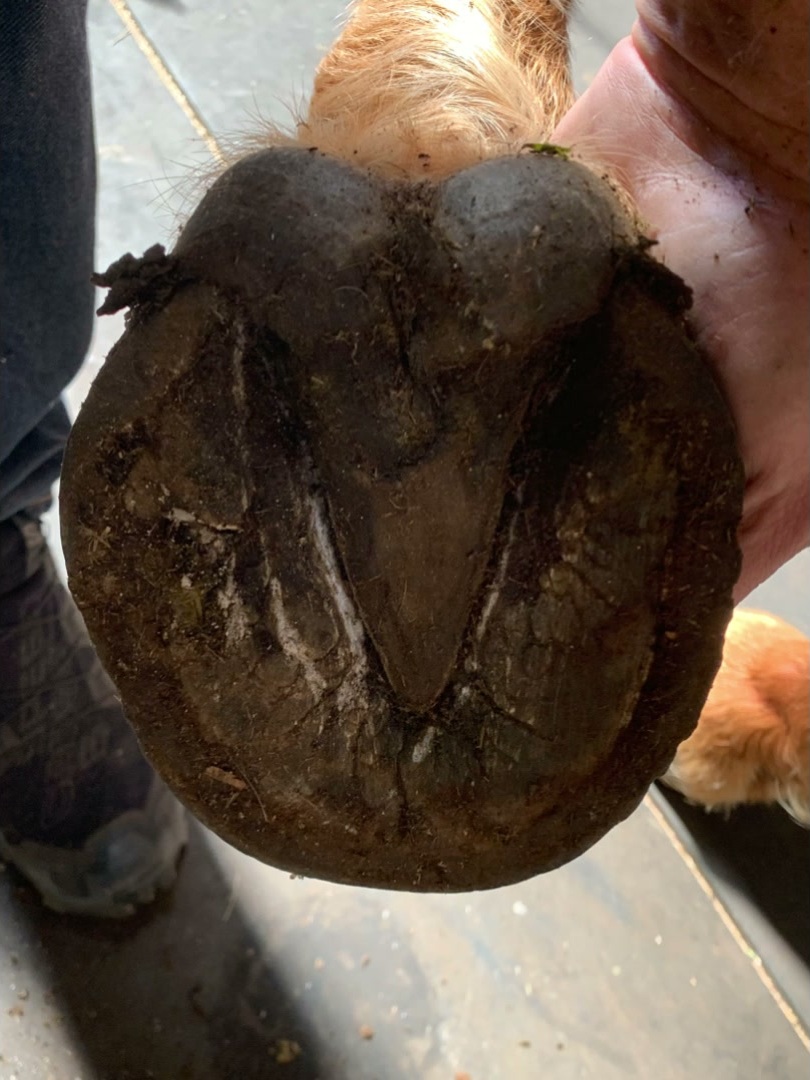
Case history
Follow one horse’s development over several trims. This helps you understand how a hoof can develop over time and how much variation in its appearance is perfectly normal. The hoof is healthy, it functions well, and the horse moves comfortably over difficult ground. That’s what matters. Not a pretty picture.
I see a hoof, but I'm not sure what to do with it.
Now I finally understand what to look for.
Questions
The term “bearing edge” originates from shoeing. It suggests that most of the horse’s weight is carried by the outer edge of the hoof capsule, where it rests on the metal shoe. In that context, the term may even be accurate. However, healthy, unshod hooves clearly work in a different way: The entire solar surface participates in load sharing, and the structures beneath the coffin bone receive support from the ground. The hoof wall is part of this system, but it is not a rim from which the rest of the hoof should be suspended. There is no bearing edge in a healthy barefoot hoof.
The hoof capsule takes just under a year to grow out completely. With a badly distorted hoof, it may take more than one growth cycle to bring the capsule back to its natural shape. Noticeable improvements — for example, a horse that is no longer lame — are often possible within around six months. The right trimming, combined with a little patience, will get you the result you are aiming for. Allow the hoof to grow. That is the fastest way forward.
Sometimes horses are sensitive because the sole is still too thin, for example. But the main reason is usually that the structures are able to move again. The individual parts work together, yield, adapt to the ground, compress when the hoof bears weight, and expand again as the weight is released. At first, this movement feels unfamiliar within the hoof and creates a new sensation. This can make the horse move more cautiously. It is not always pain. Sometimes the horse simply needs time to adjust to the unfamiliar feeling.
Hoof protection is not the goal. It is a bridge — sometimes necessary, sometimes helpful, but always used with the aim of eventually no longer needing it. When that becomes possible depends on the individual horse, not the calendar.
Each color stands for a tool and the way it is used: red for the knife, green for the rasp, and blue for the rasp or nippers. The markings show you directly on the hoof where to work. Observe. Compare. Understand. Every step remains easy to follow, from the first look to the final check after trimming.
No prior experience — but you do need to prepare. You don’t need a professional background, but you do need to know how to handle the tools safely. That’s exactly why the book includes practice exercises to complete before you start working on the hoof. The comparisons and markings based on the three-color system will show you how to trim it.